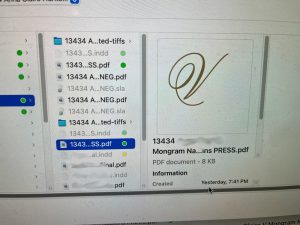
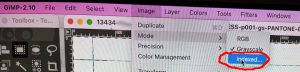
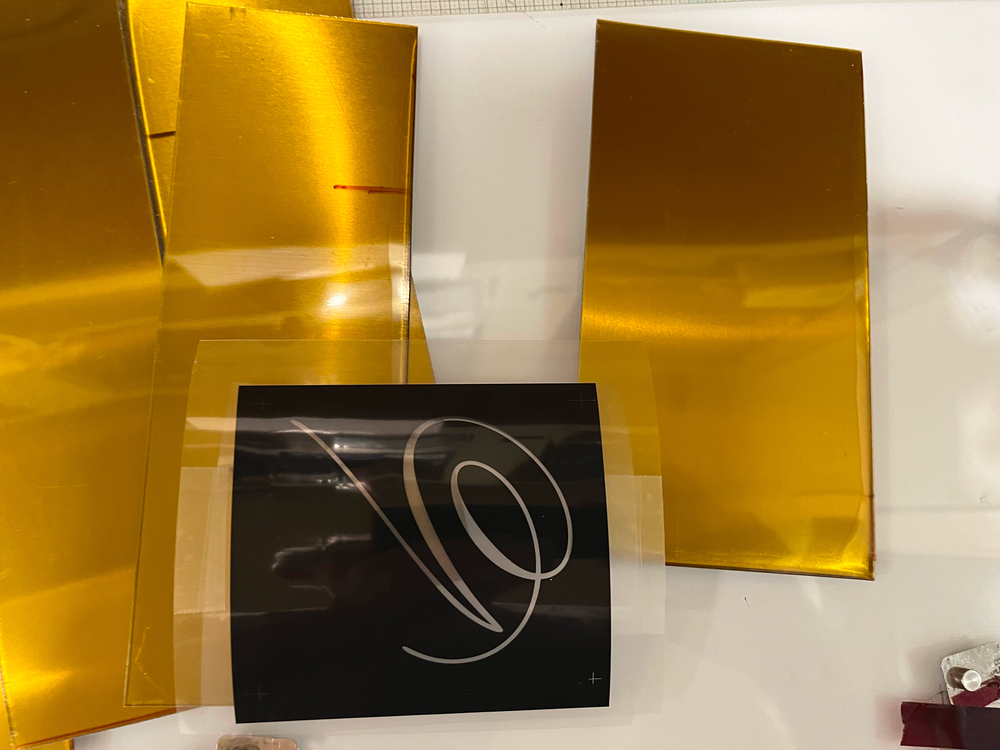
This is a how to article in creating a letterpress plate from the beginning to the end. The order starts out with a design, a color chosen, and a file sent. On this order the designer created a vector art file and set a fill to pms 872 gold. The document was then exported to a press ready pdf using the color model cmyk and spot color. After art is approved it is sent to the printer in which starts out in the prepress department. This is becoming more and more of a lost art since so much printing is done using digital printers. When the job requires printing on a letterpress, offset press, flexo press, intaglio, or silkscreen; then knowing how to create correct files and checking them are a must.
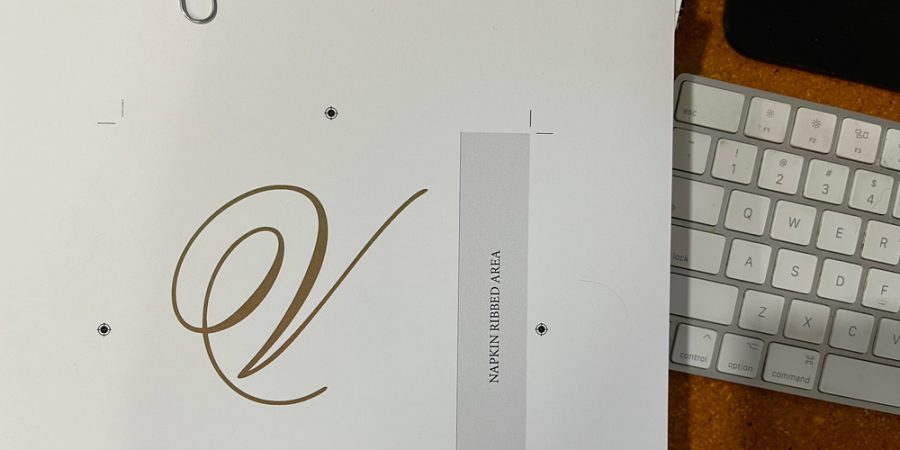
This order is for printing on a napkin using a letterpress. So to start we need to correctly separate the gold channel which should be contained in the pdf. If this was a rgb file then the gold would be a small amount of cmyk colors and would not work in creating a printing plate. The plate has be 100% solid in the relief part to create a solid gold impression. It cannot be screened down or cross hatched.
Below are the steps that I personal take given the quality needed, resources, and the equipment we have.
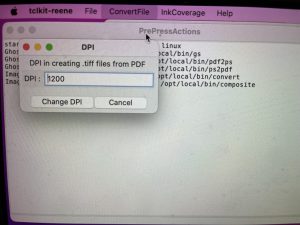
Step 1: RIP the pdf: This will separate all color channels. If the file is cmyk plus spot we will have 5 files created. Since this is a one color job then the pms 872 color channel is the only one we need. Below is an application developed at Hobart Printing to help speed up the workflow. Ghostscript is used to separate the pdf into tiff files. Our app speeds things up by locating the source file and then naming of the output files. No more escaping long path names in a mac terminal, shell, or windows cmd console. Below is a screen preview of the opened press ready pdf file.

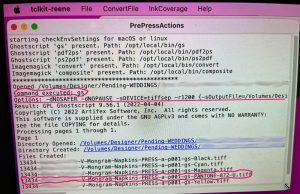
Below is example of the command given to ghostscript which is done in the PrePressActions application. This can also be done in a shell (teminal, cmd console) using ghostscript. On macOS and linux the command is ‘gs’. On windows it is ‘gswin64 or gswin32’. At the command prompt use below.
gs -dNOSAFER -dNOPAUSE -sDEVICE=tiffsep -r1200 -sOutputFile=outfile-p%03d-gs.tiff infile.pdf
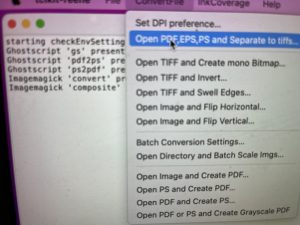
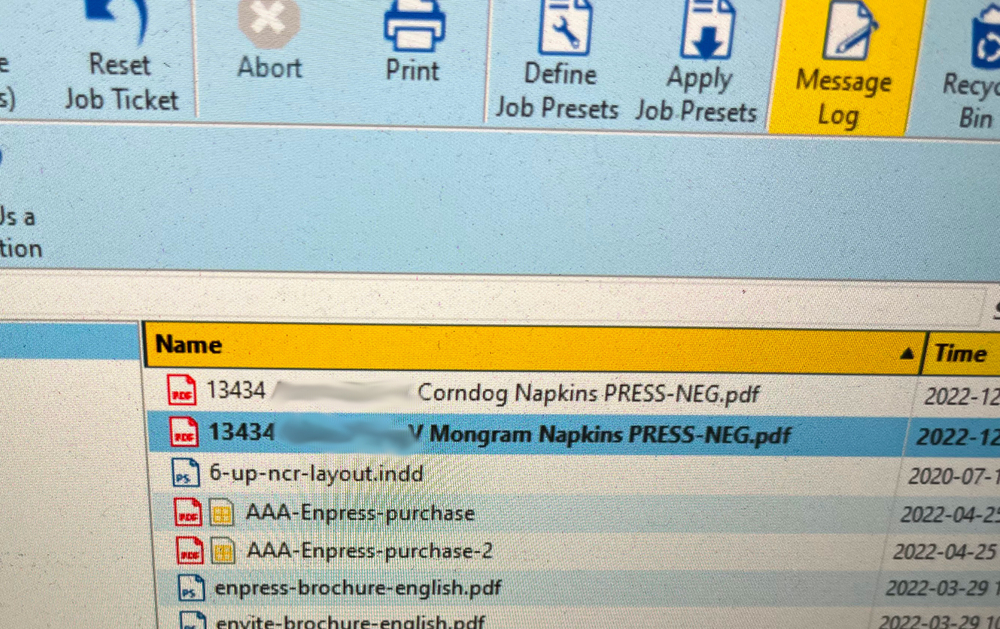
Below picture shows the menu items and it is here that we select the art PDF from a file dialog box. This will give ghostscript the file path and file name of the input file.
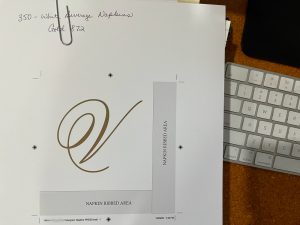
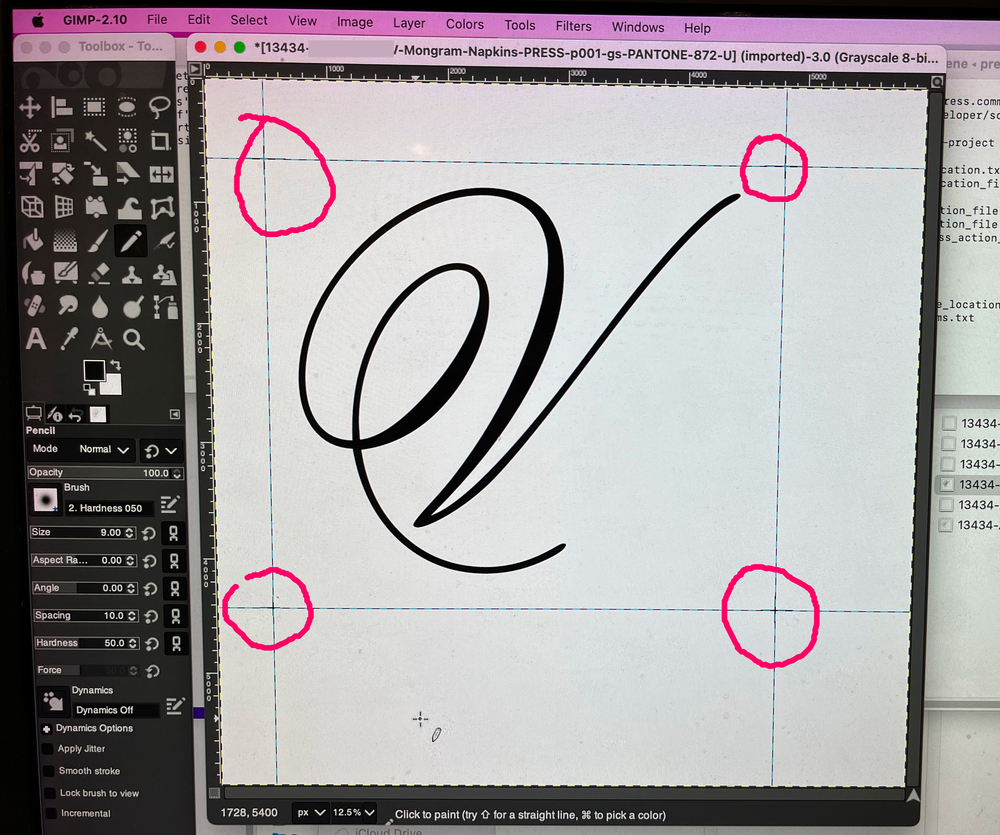
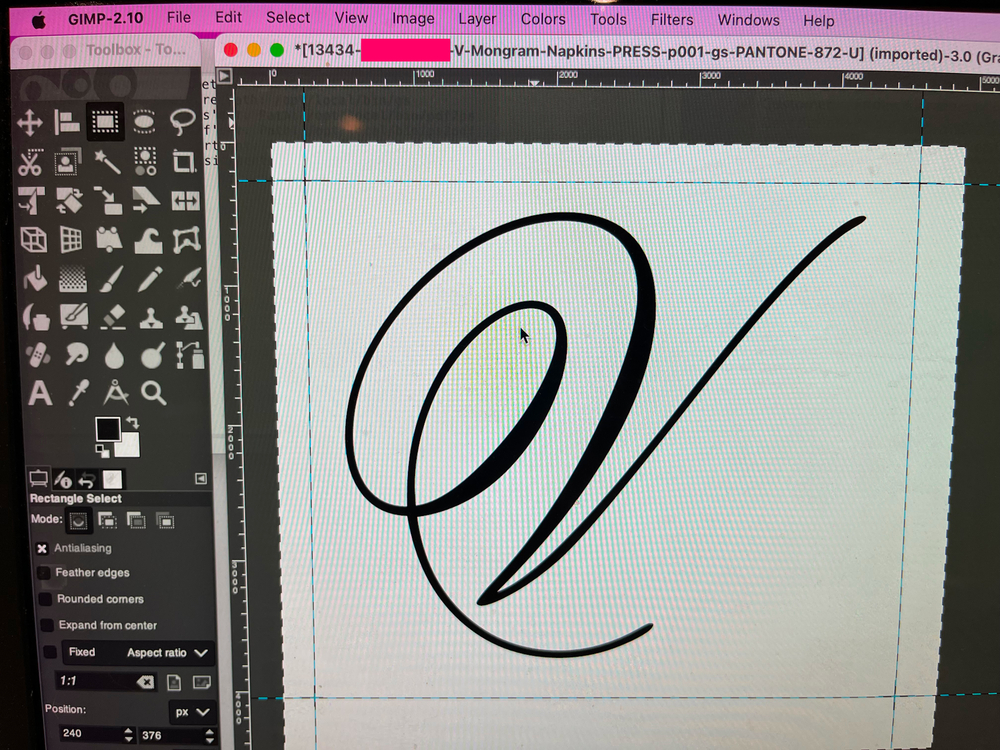
Below we see the preview of the artwork from the macs file open dialog. It has a gold image only. No other colors. From the preview we really don’t know the color model used in the pdf; is this cmyk, rgb, or a cmyk plus spot color?
Below shows the results of executed ghostscript program with the options given. Circled in red is the command name “gs” and the “options” given the the program. Also is shown the files created, directory of opened file and directory of new directory that contains the files. I can see that a spot color file was created. Good news!
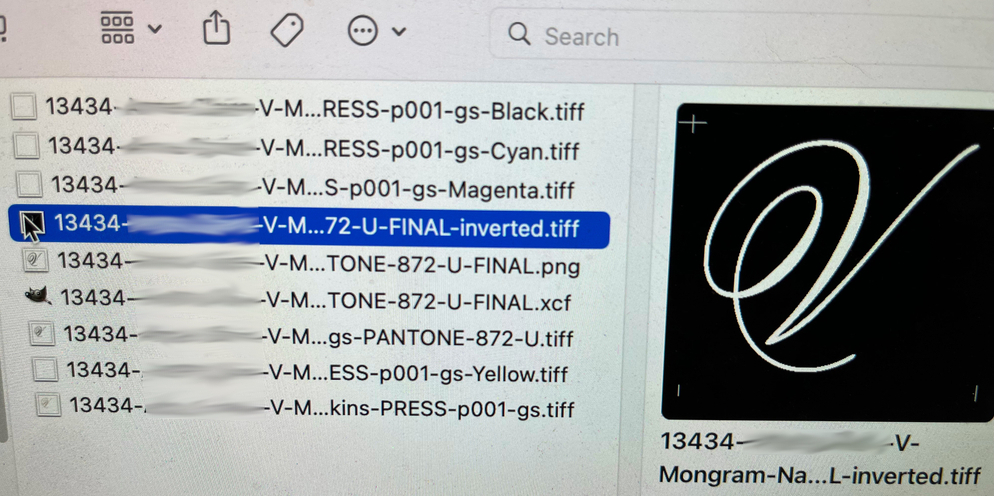
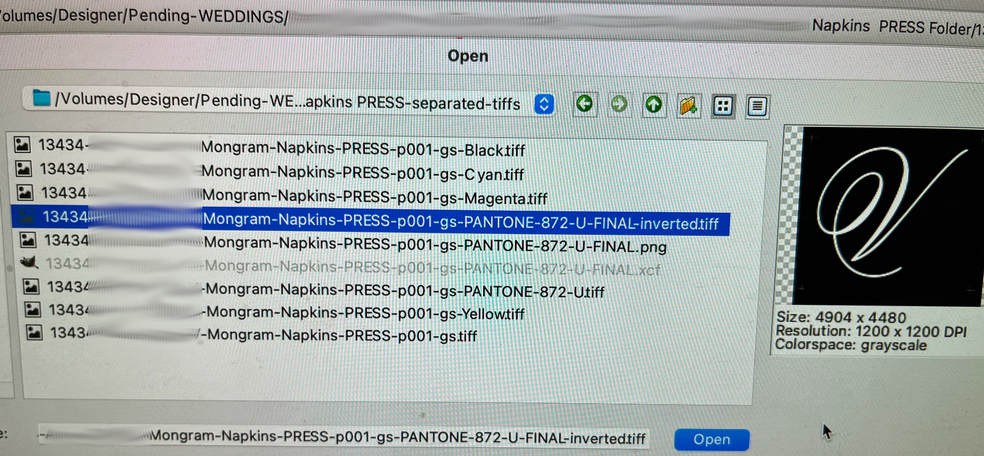
Below: I am in a file browser (macs is called Finder, windows is called Explorer). I can see that the gold separation looks correct. But to be sure I will be opening this file in GIMP. Photoshop, and Affinity Photo would also work.
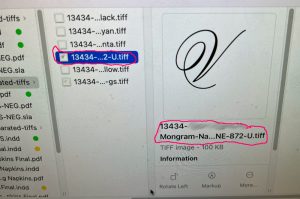
Below looking at the Black separation. It is blank and that’s a good sign. I checked the other colors as well and they are blank. If this was an RGB color model the RGB colors would have been converted to cmyk in which we would have a light gray image on all colors. I could bring the strongest color and fix it on this project; But that will be another blog post how to.
Step 2: Inspect separated file or files.
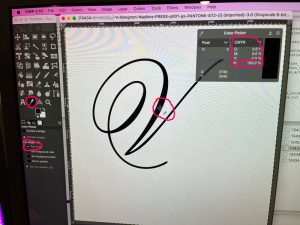
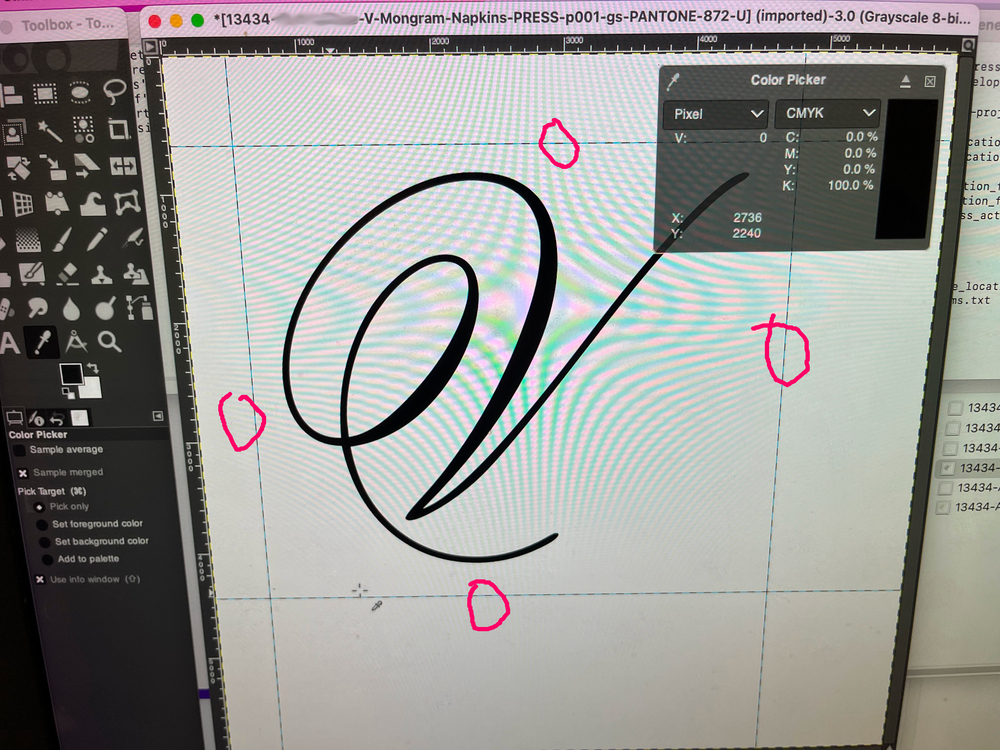
Below shows the opened gold separation file. Circled in red are points of interest. The eye dropper was selected, the option “pick only” was selected, the eye dropper cursor was moved over the art and mouse was left clicked, the “color picker” box at that point was shown and the cmyk values where displayed. This shows that the black grayscale image produced by ghostscript is 100 percent K. This is a must to make the plate.
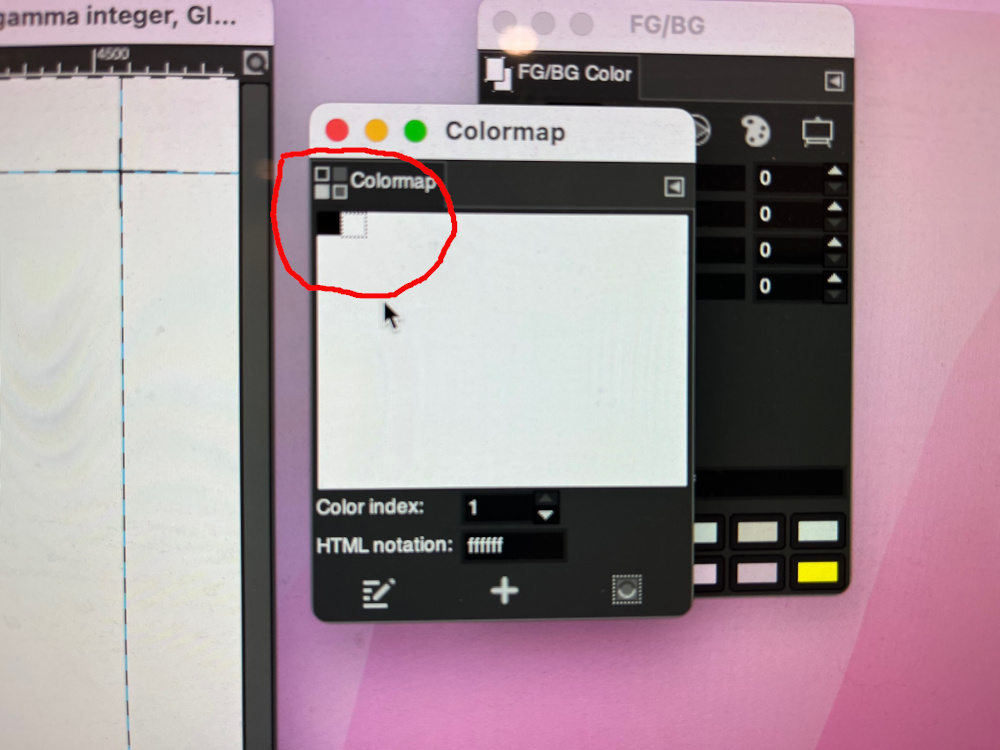
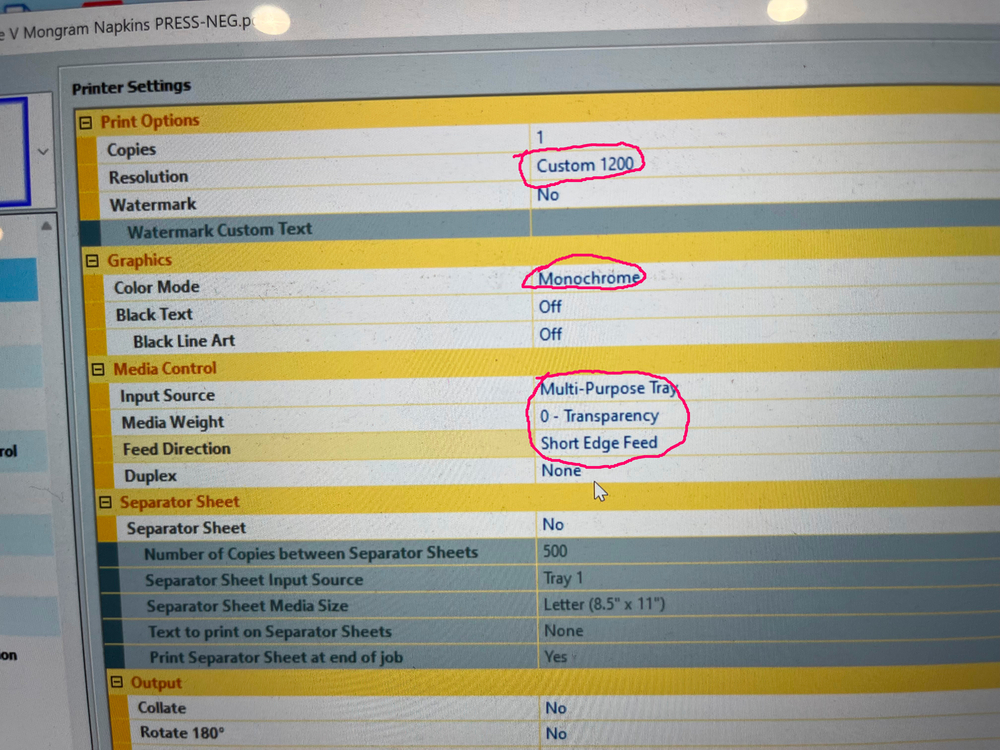
Before we go on to the next step I need to mention output devices. We use the Xante Impressia to create a negative, and we use the Xante EnPress to make offset plates. Both of these digital ‘laser’ printers use the IQue print server and will print out a grayscale that is 100% black as line art. Therefore if you have an image that has 100 percent black type and an image (photo picture); the type will not be screened but the photo that is not 100 percent will be – screened! That is a good feature to have. I have used output devices – very high end ones – and a gray scaled image would always be screened – even 100% black type. If you are needing line art that will not be screened on these devices then the image needs to be a mono bitmap (or 1 bit indexed). It will have a color palette of 2 – on or off. This can be done in GIMP or Photoshop. Photoshop calls this a ‘bitmap’ format. GIMP calls it indexed.
Below is the settings for creating such a file. I have done this many times. An example usage would be having hard copy type artwork, scanning it to 600 or 1200 dpi as a grayscale. Bringing the pdf scanned in a GIMP program. The image should have retained the dpi scanned settings, if not change it. Convert the grayscale to mono bitmap. Export back to PDF. Put on RIP server and the type will not be screened and will be as smooth as if you had the original fonts and artwork. That would be a topic for another day.
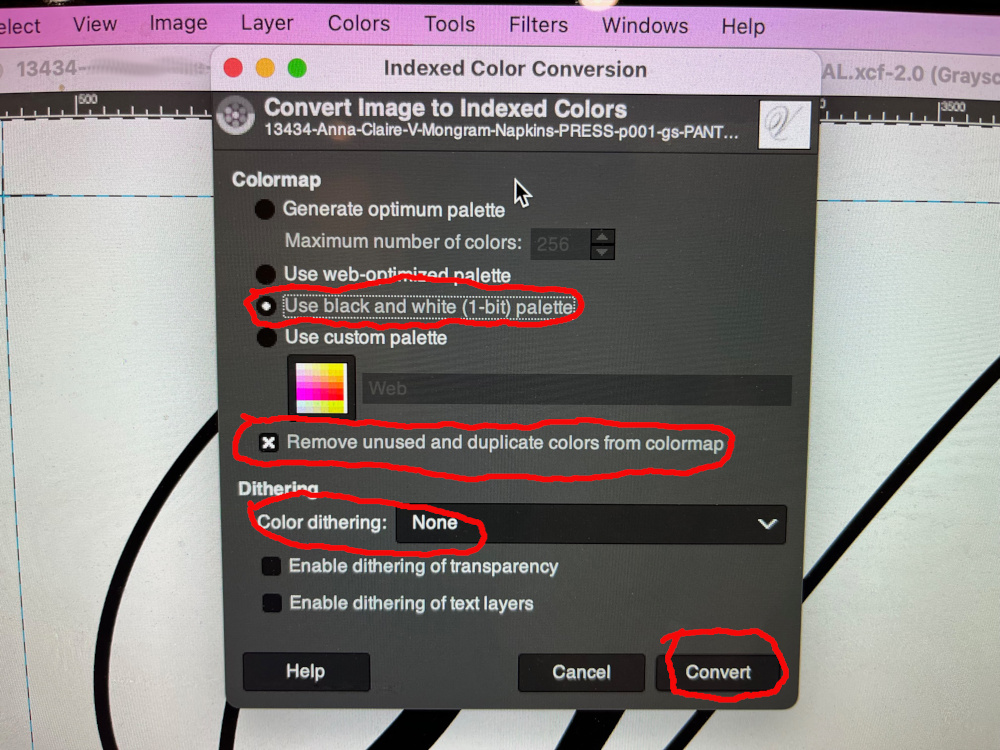
I usually export the converted indexed 1 bit image to a tiff image format.
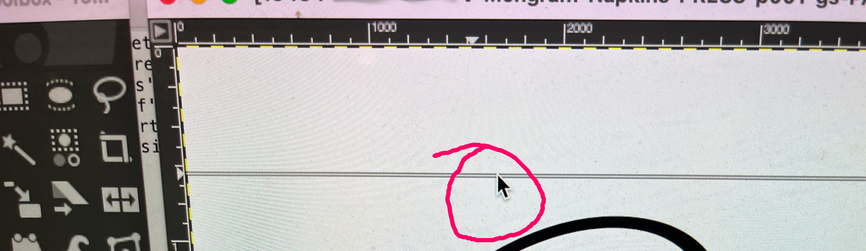
Step 3: Create marks so that we can register the 2 images together when printing to a transparent film. First create guides by putting the mouse on the ruler and pressing down on left mouse button. Start dragging.
Below: Dragging the line down to where you need it then release left mouse button.
Below: When finished it should look like this.
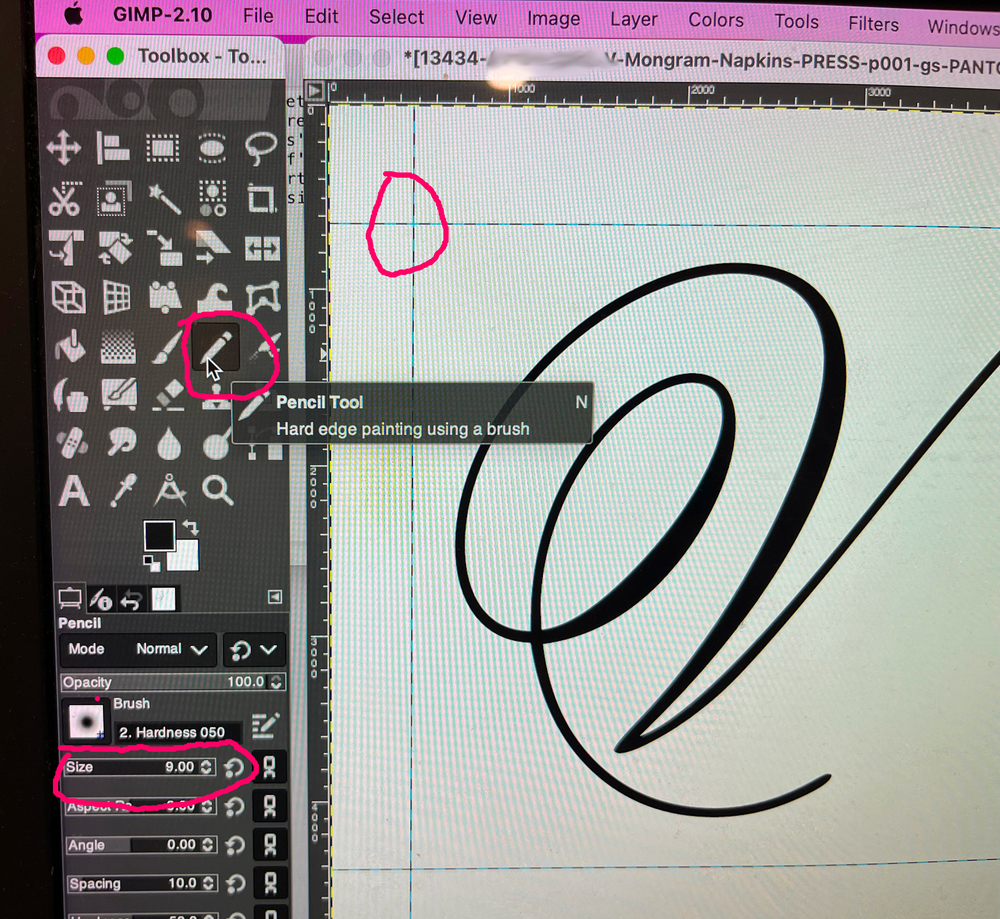
Below: Start creating marks by choosing pencil, setting the width, then dragging along the guides. I set the thickness 9-12 pixels.
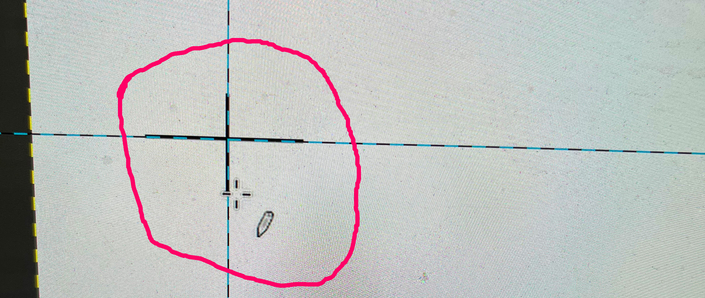
Below: Close up of the registration mark.
Below: finished with the making the registration marks.
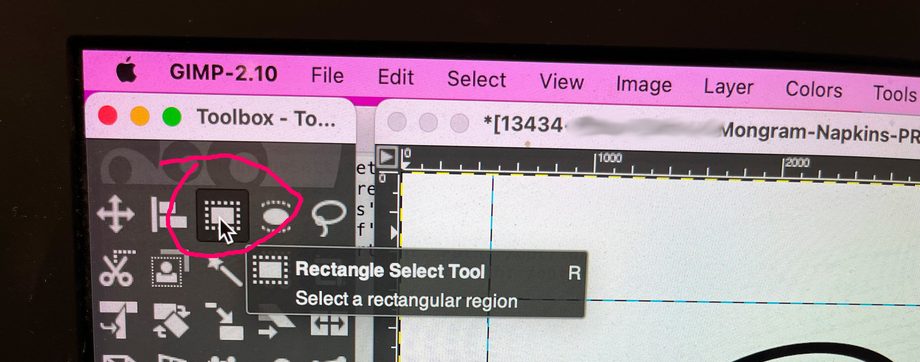
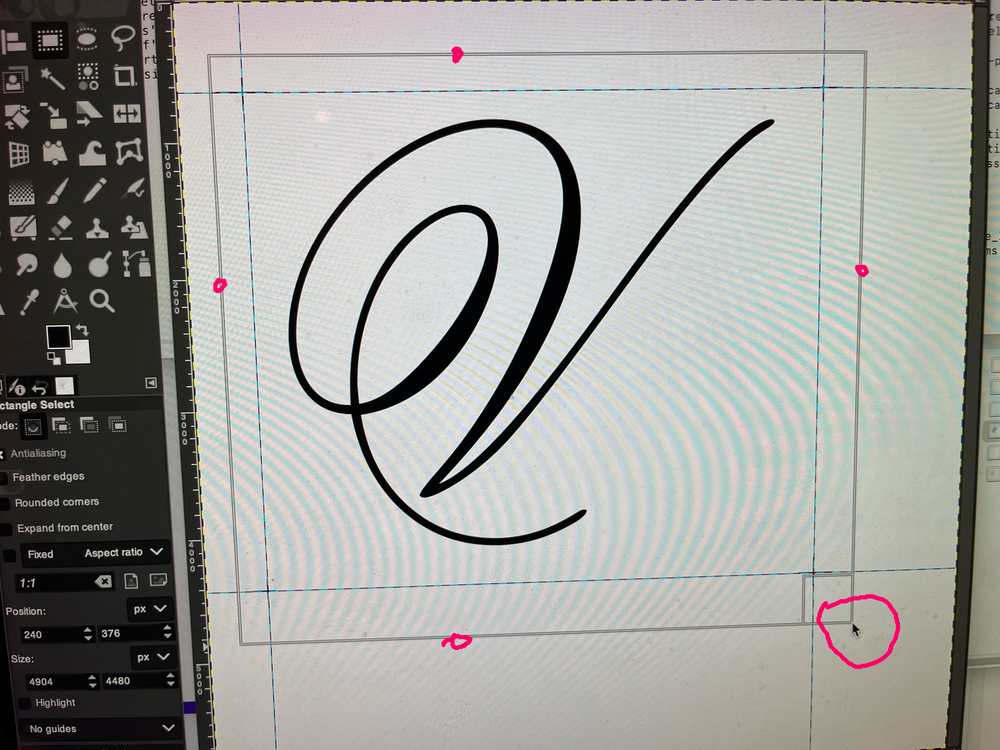
Below: Crop the image using GIMP selection tool.
Below:
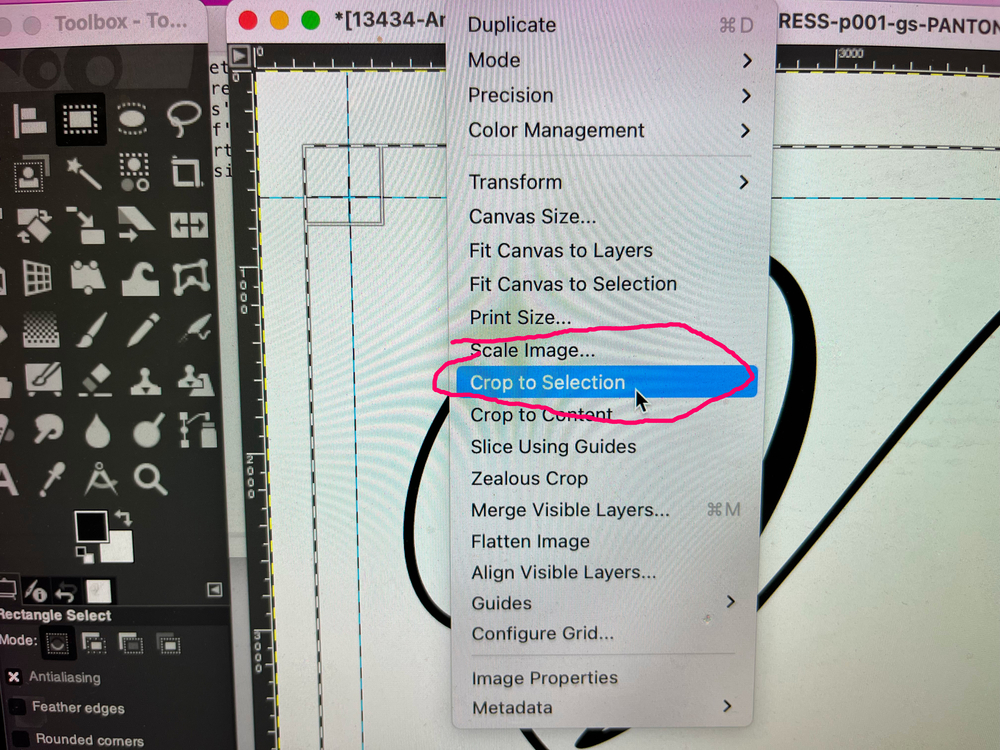
Below: From the menu select “Image” then “Crop to Selection”.
Below: This is a look at the final image. It has registration marks and is 100% black image at 1200 dpi. The next step is to invert this image. What is black will be white and what is white will be black. I use ImageMagick for this purpose however below is how to do it in GIMP.
Below: using imagemagick on mac terminal or windows “cmd” console. Notice I used escaped_inputfile. If you have spaces in the filename or directory and you are using mac; my\ directory/my\ file.tiff . If you have no spaces then no escaping necessary. This is another way our ‘prepress-actions’ program speeds up the workflow.
convert -negate escaped_inputfile escaped_outputfile
Using GIMP – On menu choose Colors->invert
Below is what the inverted file preview looks like.
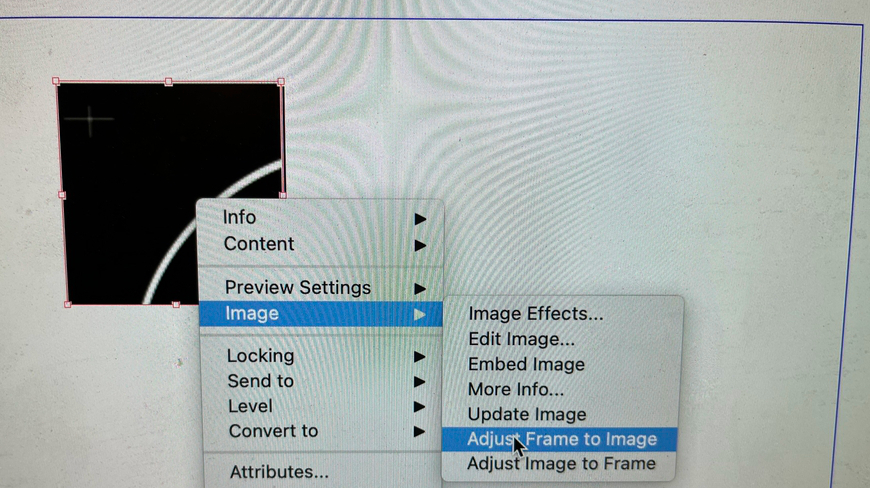
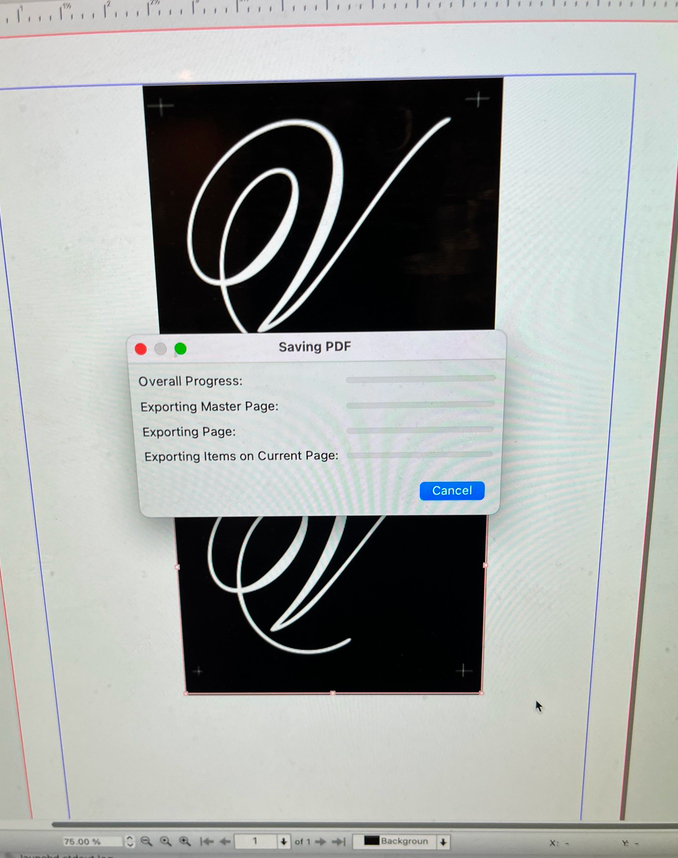
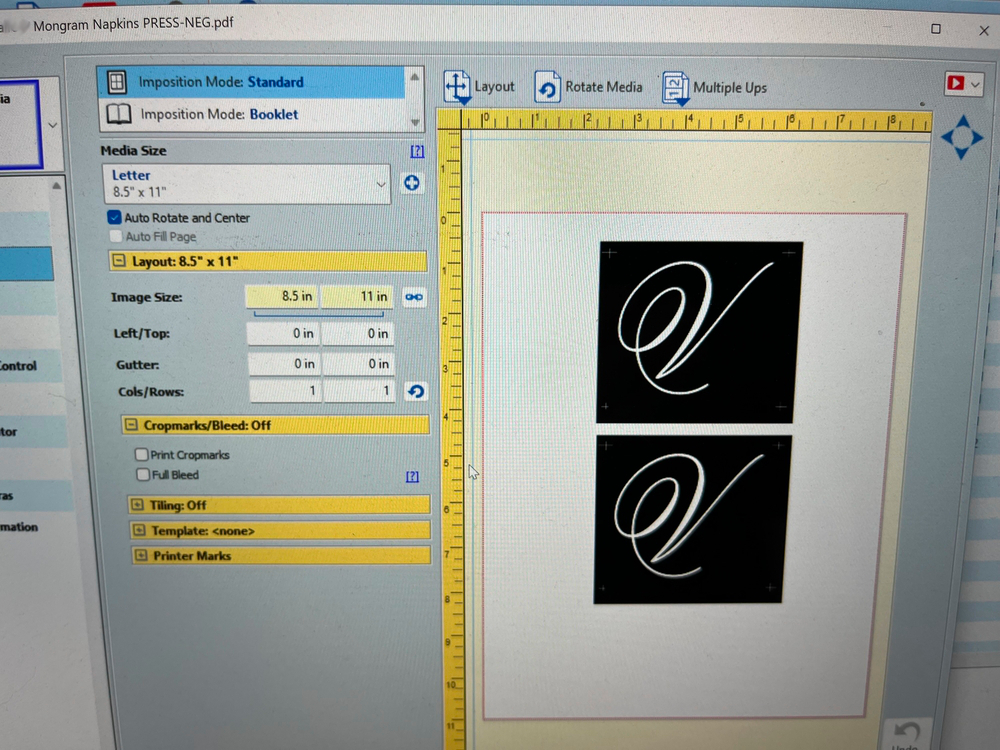
Step 4: Imposition art 2 up on 8.5 x 11 document. We use scribus to accomplish this task. We will insert this image and place it 2 up. This program does the task correctly. There are some programs that will reinterpret the placed image when exporting to a pdf. Another plus is that it is open sourced and runs on windows, mac, or linux; is a first class citizen in desktop publishing. Other programs that I have used and can do the job correctly are Adobe InDesign and Illustrator, Affinity Designer and Publisher, and Quarkxpress. There may be others but these I have actually used.
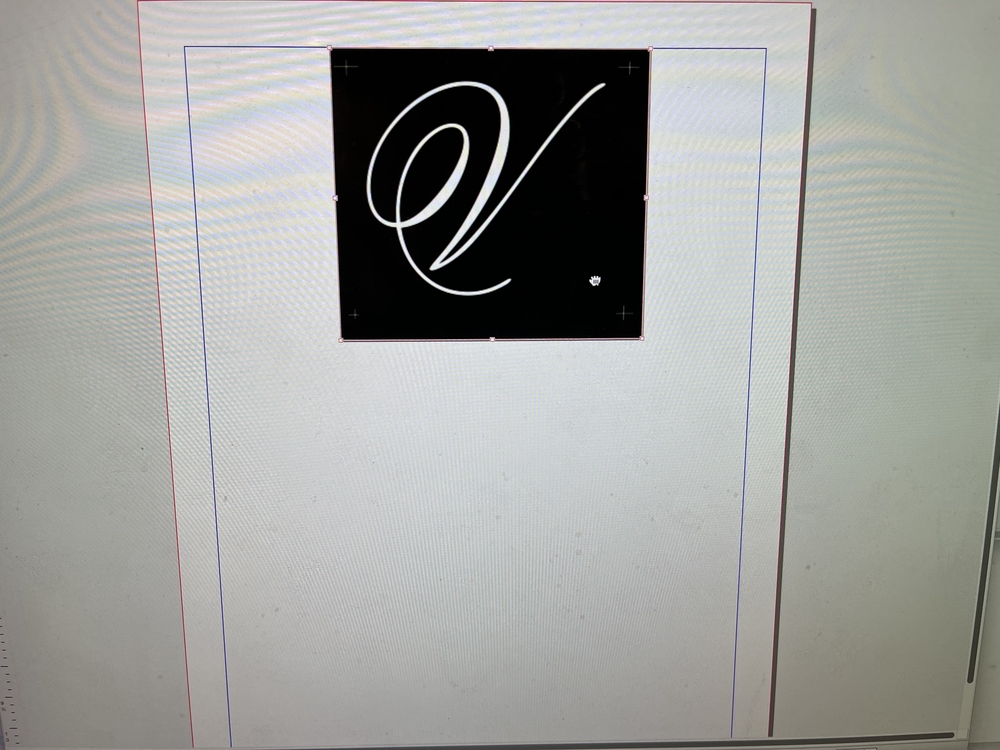
Below: Created new document in Scribus and inserting the image.

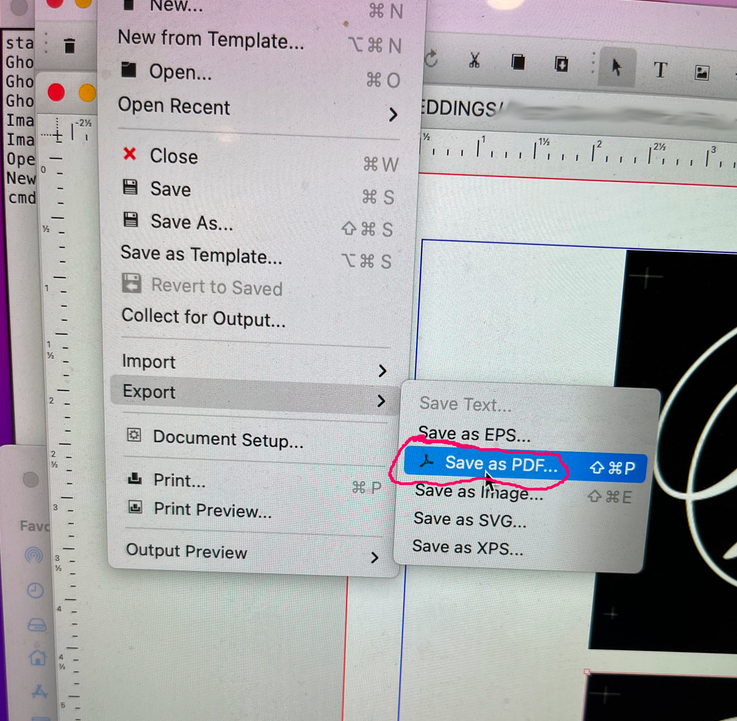
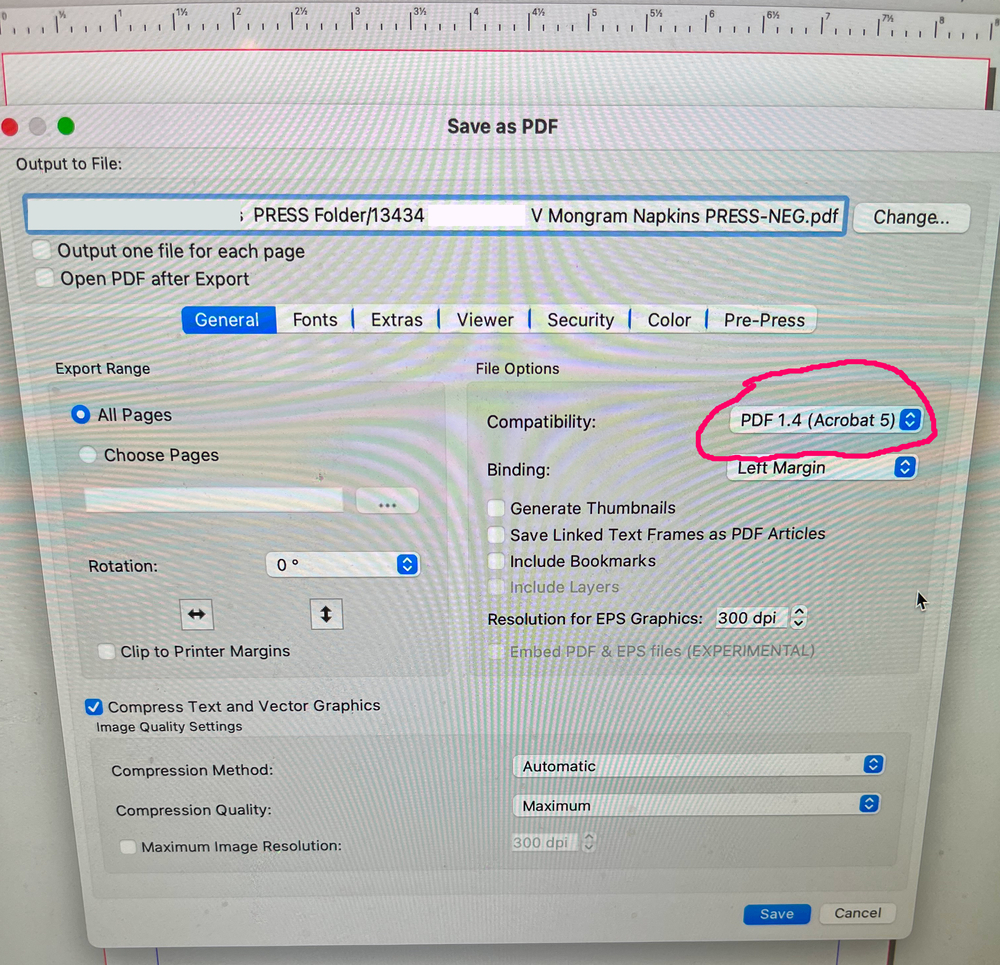
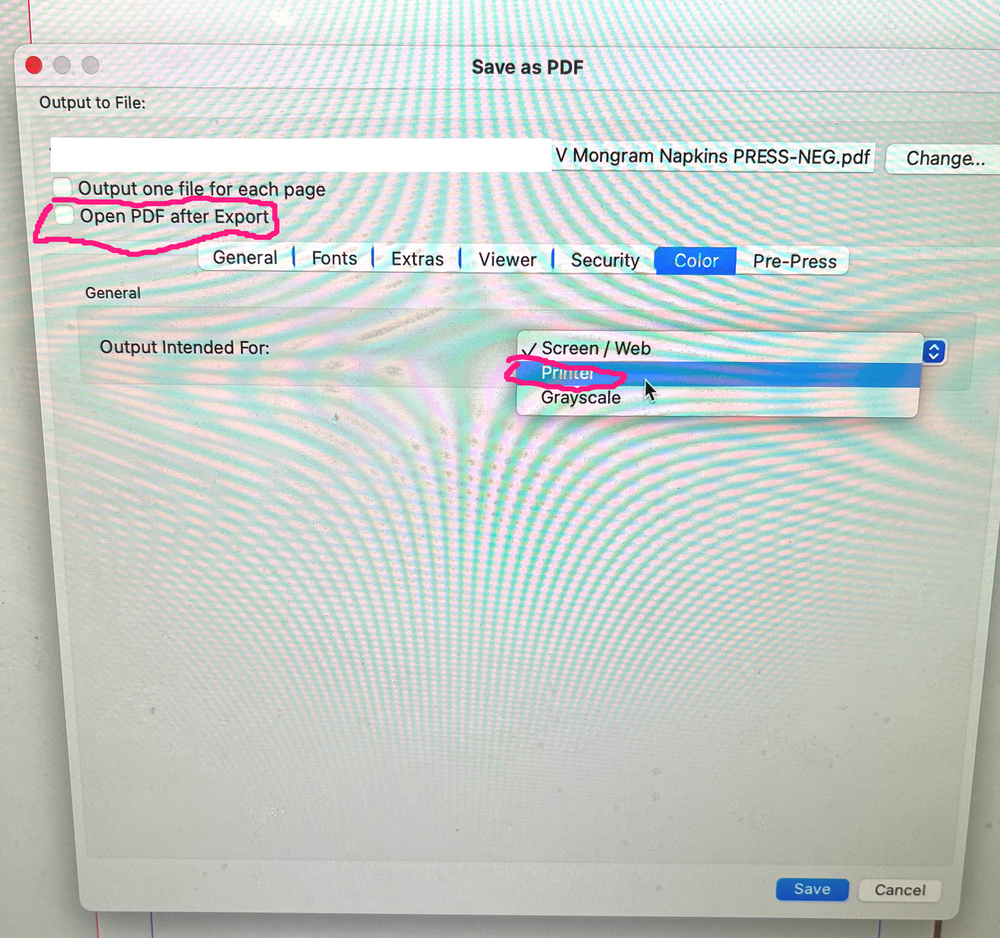
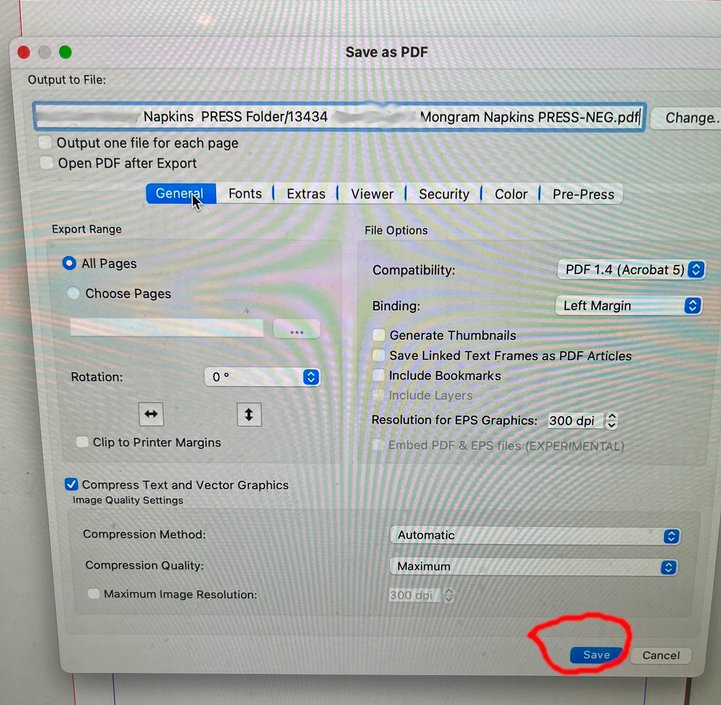
Below: Now that we have the image 2up and the document saved it time to export this document to a press ready pdf. In doing that we want the original 1200 dpi, grayscale color model, and pixel values to remain exactly as the image placed. In using scribus export the below options are not suggestions but a must. Doing so will make sure that there are no changes or reinterpretations of the image.
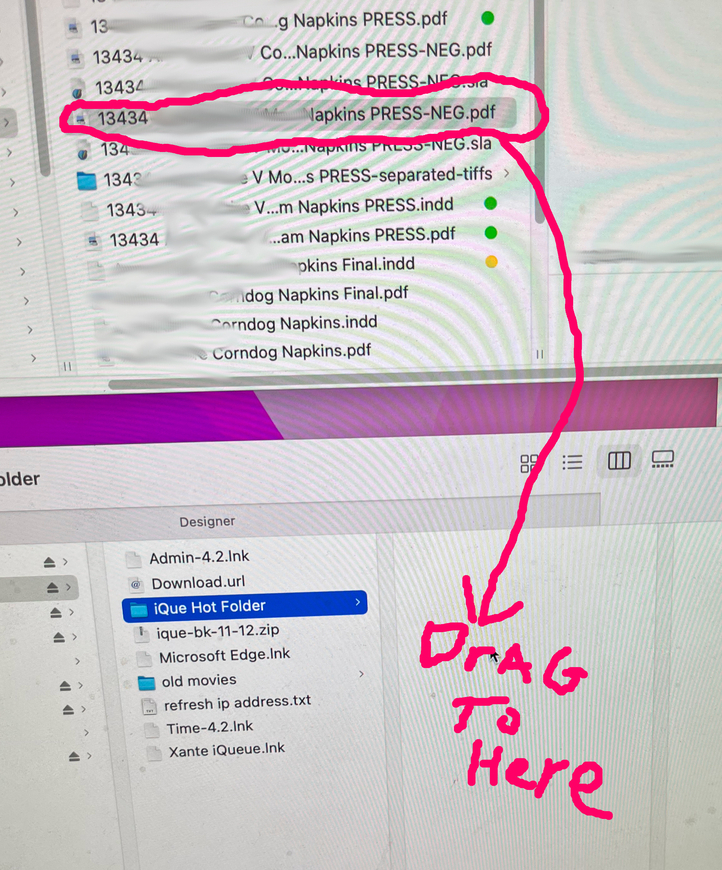
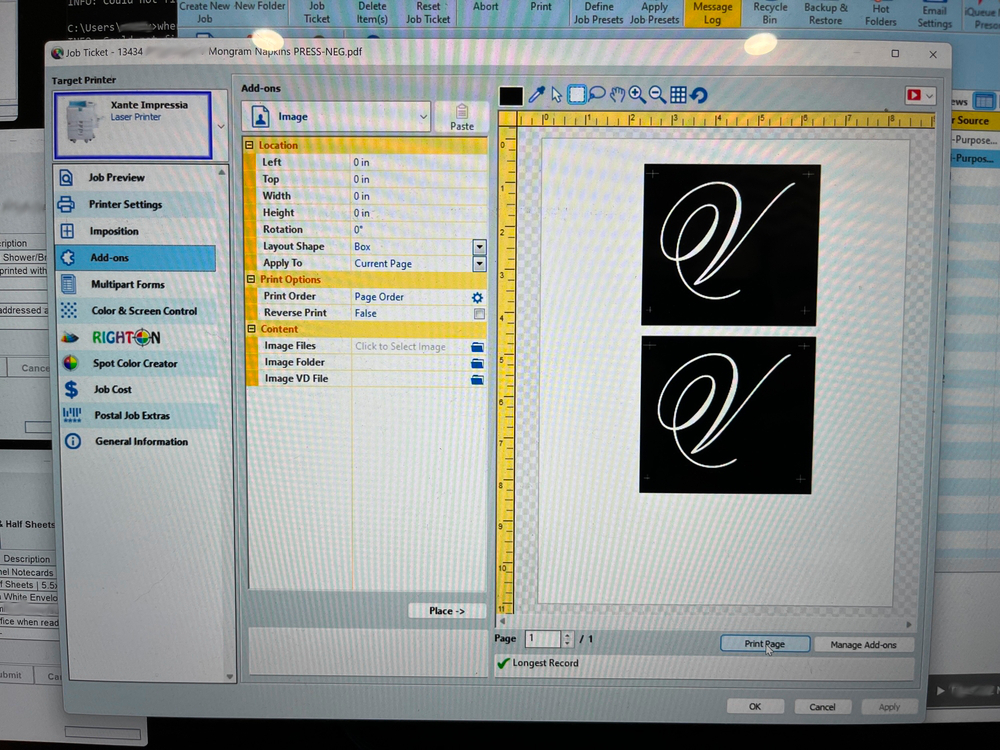
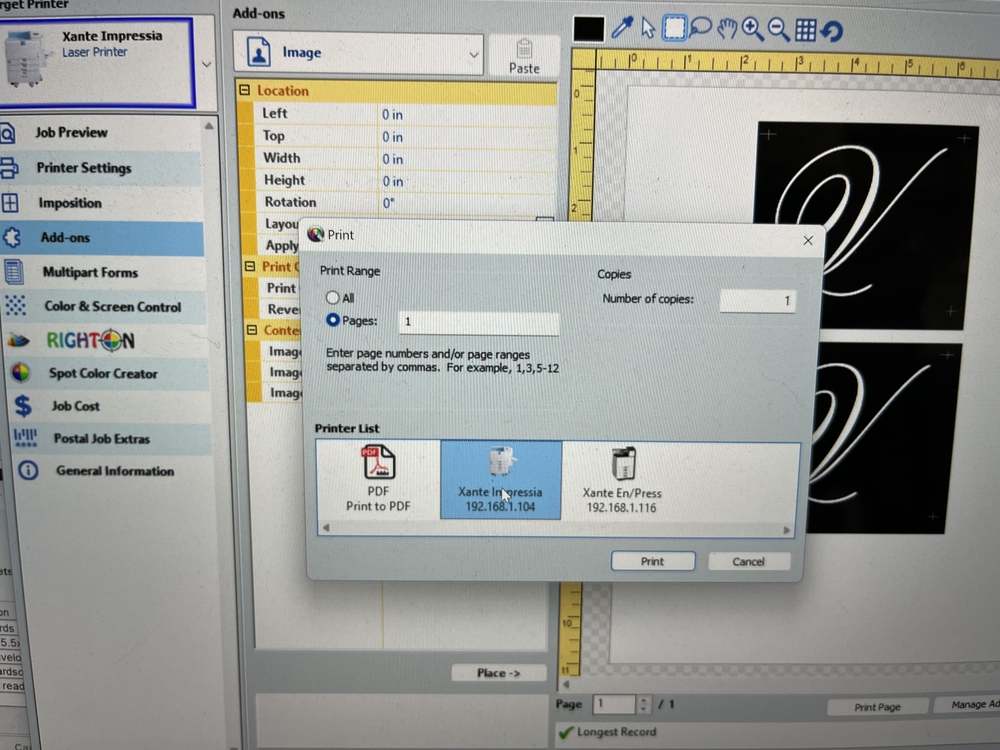
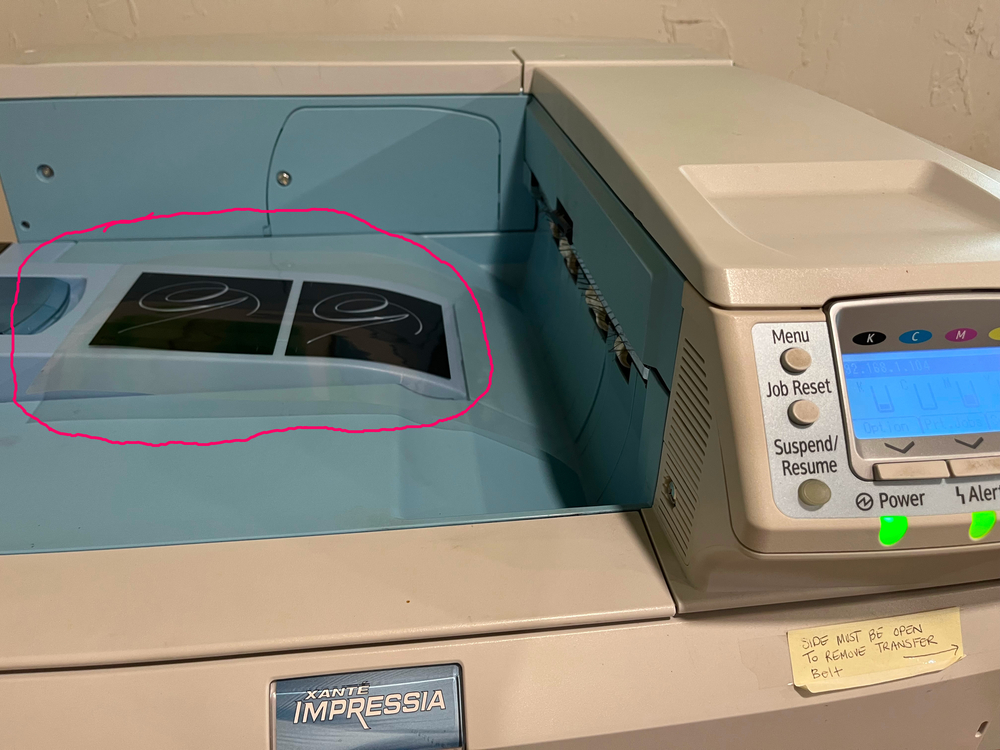
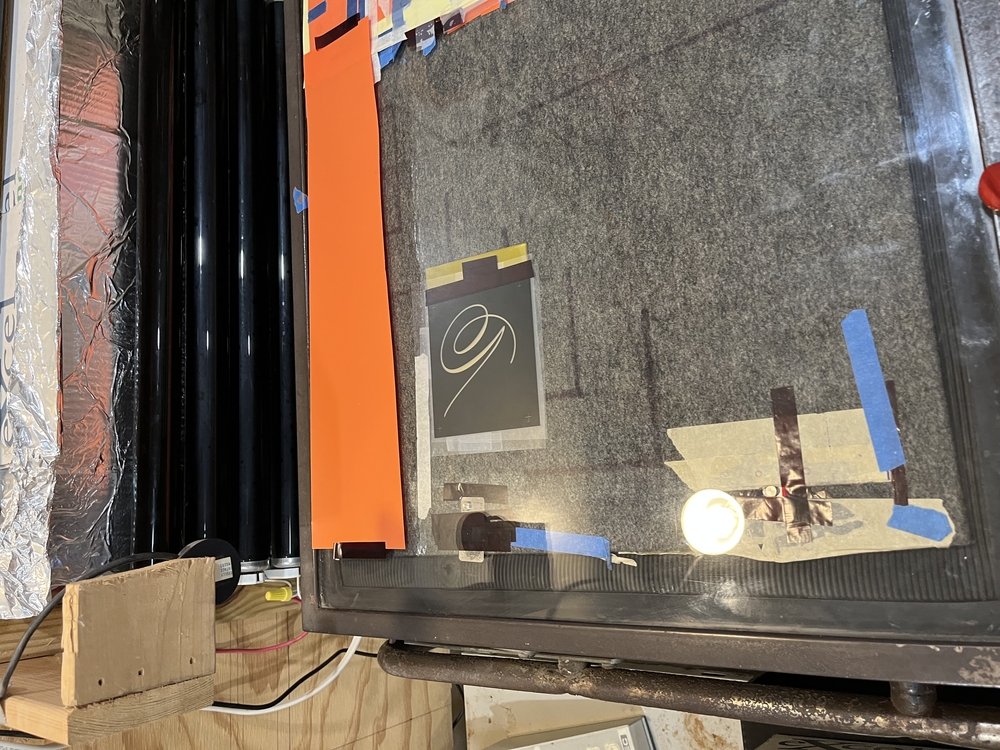
Step 5: Create film. After the last step we have artwork exported and it is now ready for printing on our Xante Impressia laser printer, using Xante transparency film. We use the Xante print server in which has a file drop box feature; also known has Hot Folders. When the file is dropped into this folder then it is put in into the print servers queue.
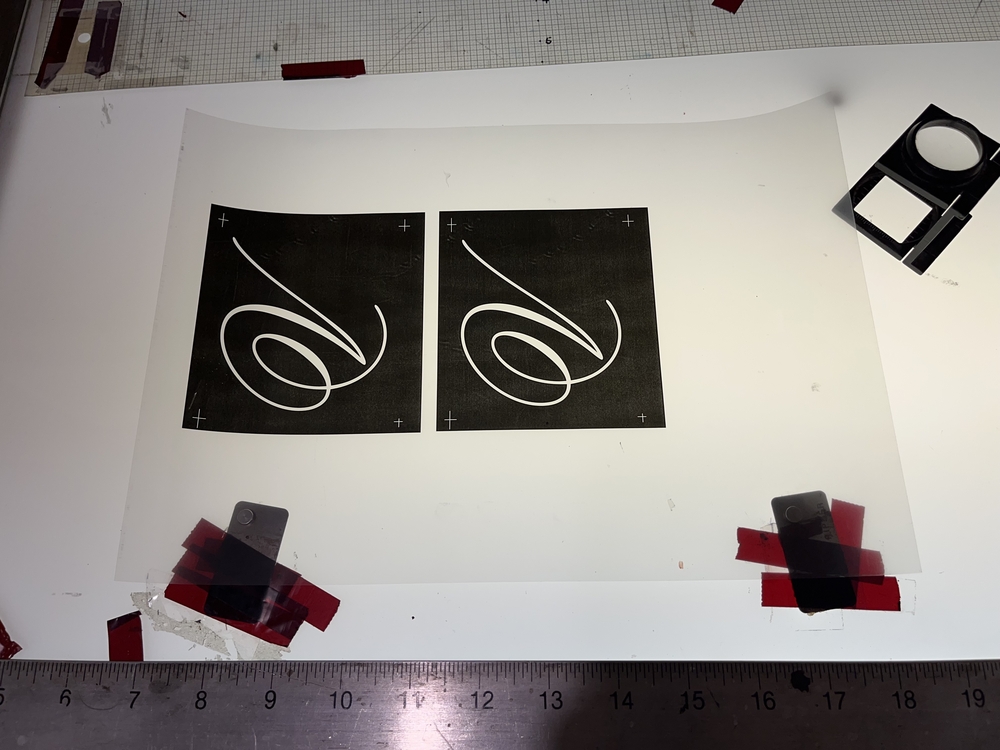

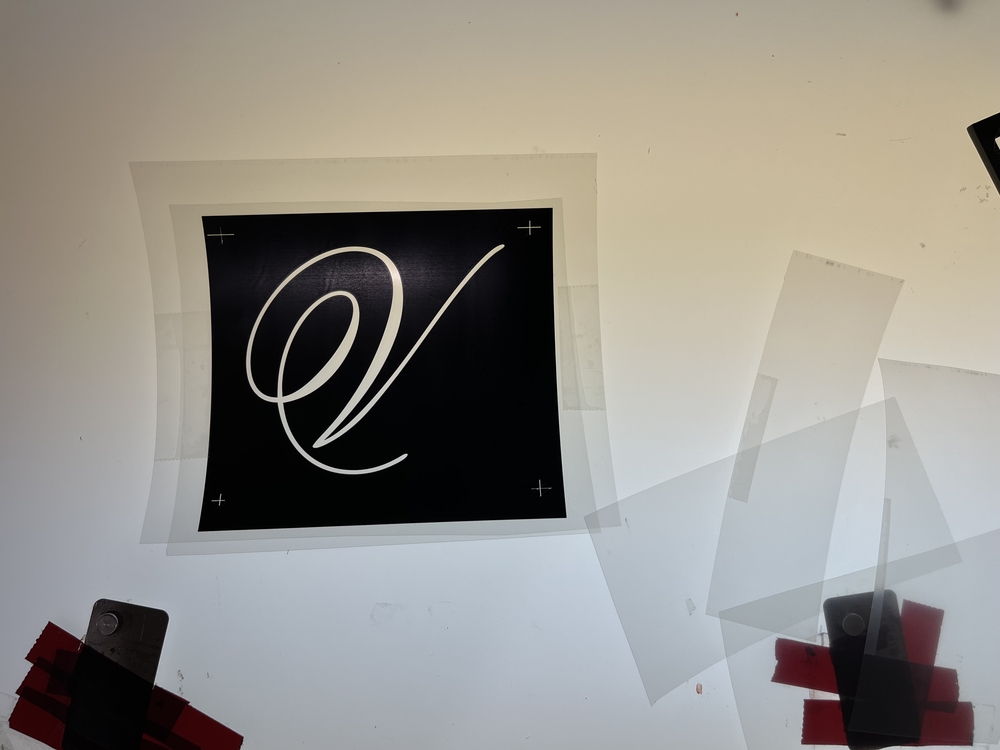
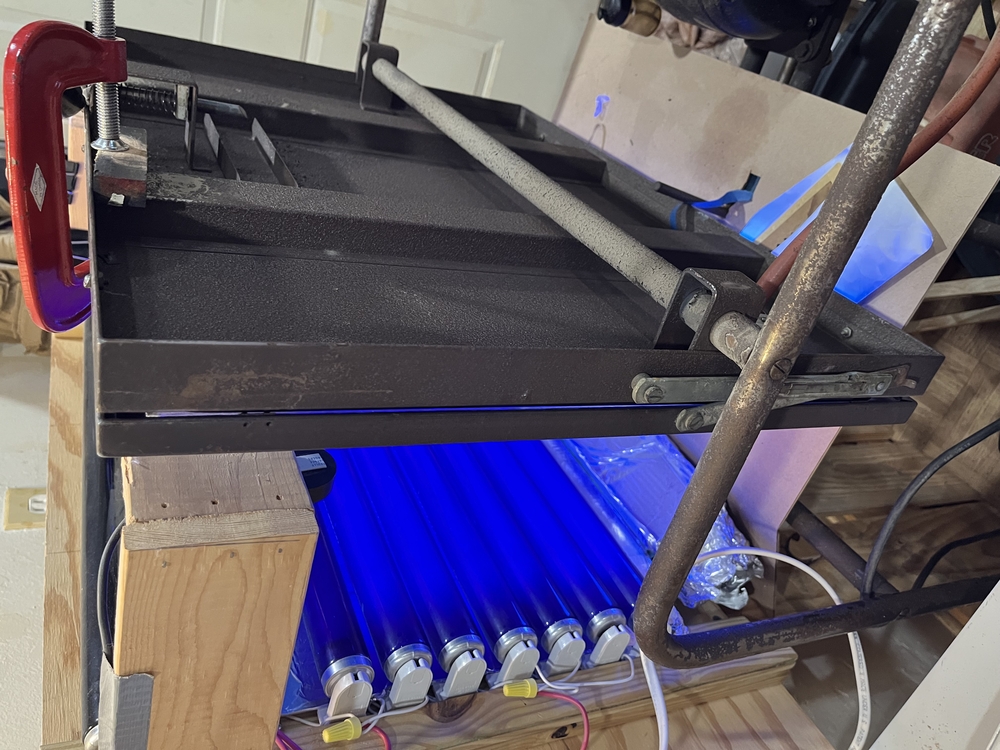
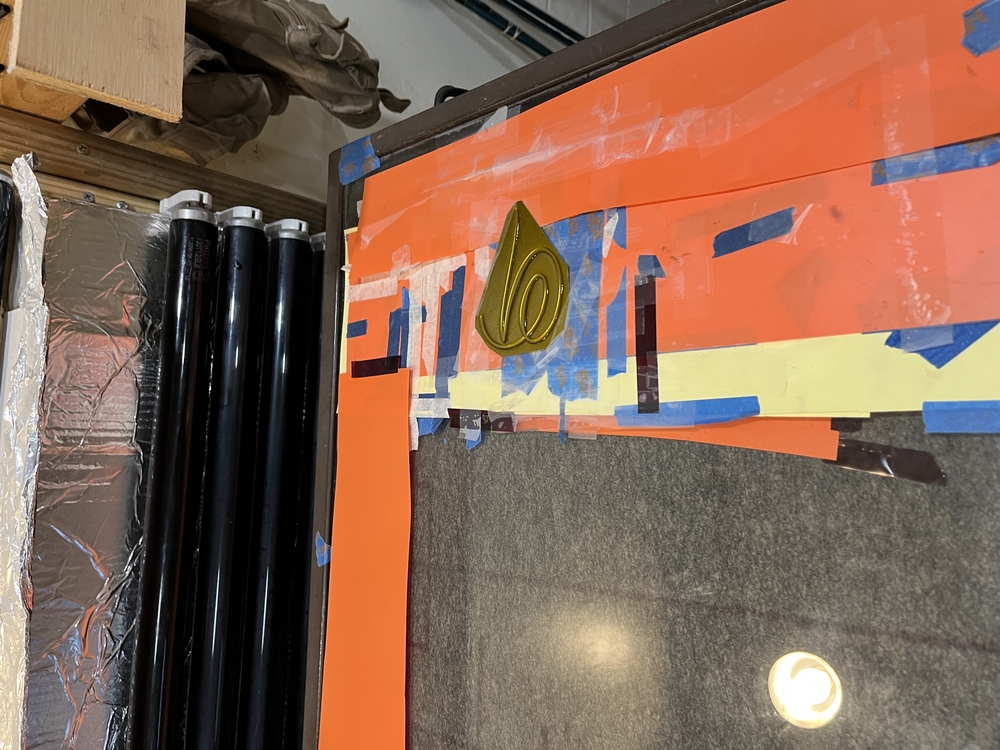
Below: Cut the plate down and tape the negative to the plate. The emulsion of the film should be on top of the emulsion of the plate. It is placed in the vacuum frame and the air is drawn out. The film and plate are tight against each other where light cannot get between.
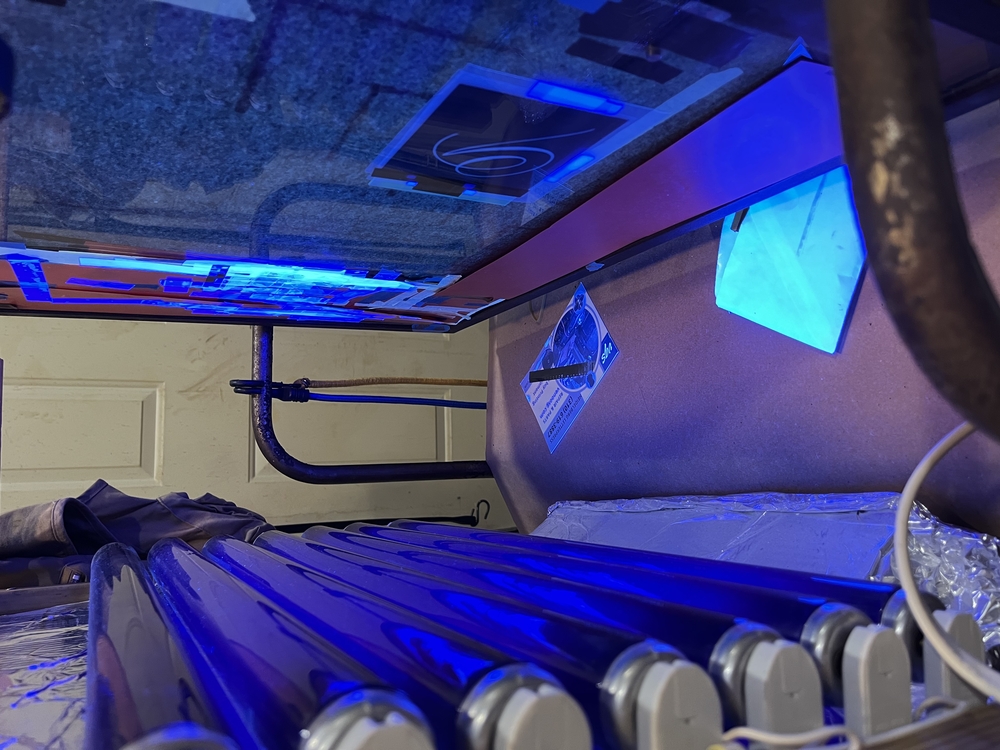
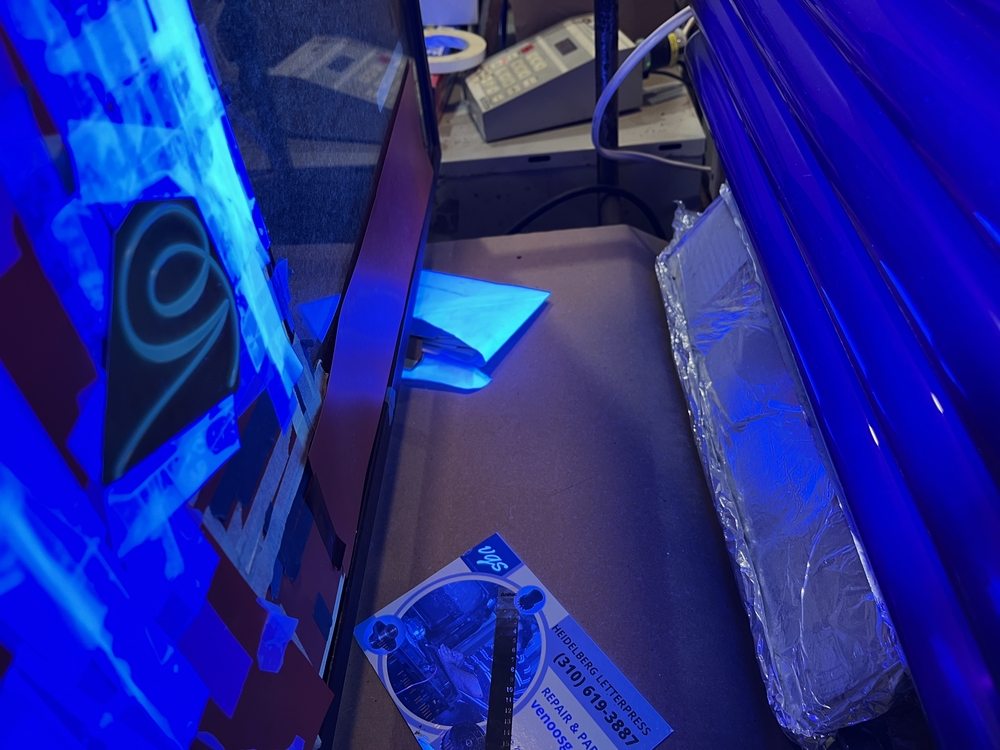
Below the table is flipped up and the plate is being exposed to ultra violet light. This will expose the polymer plate. Where the light exposes the plate is where it will be hard.
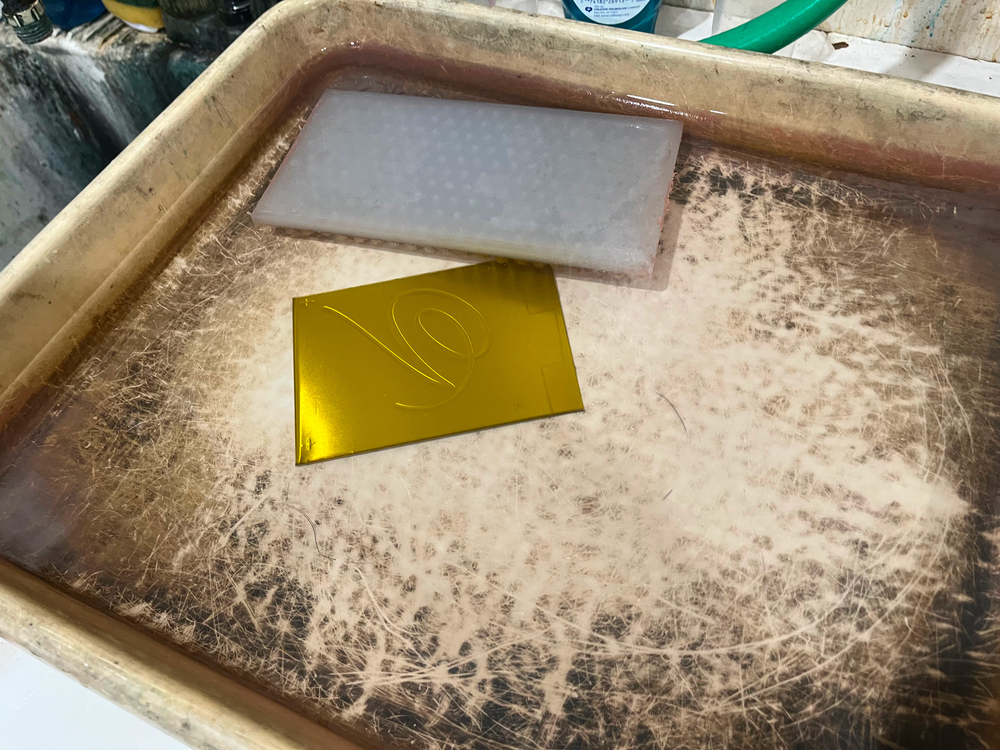
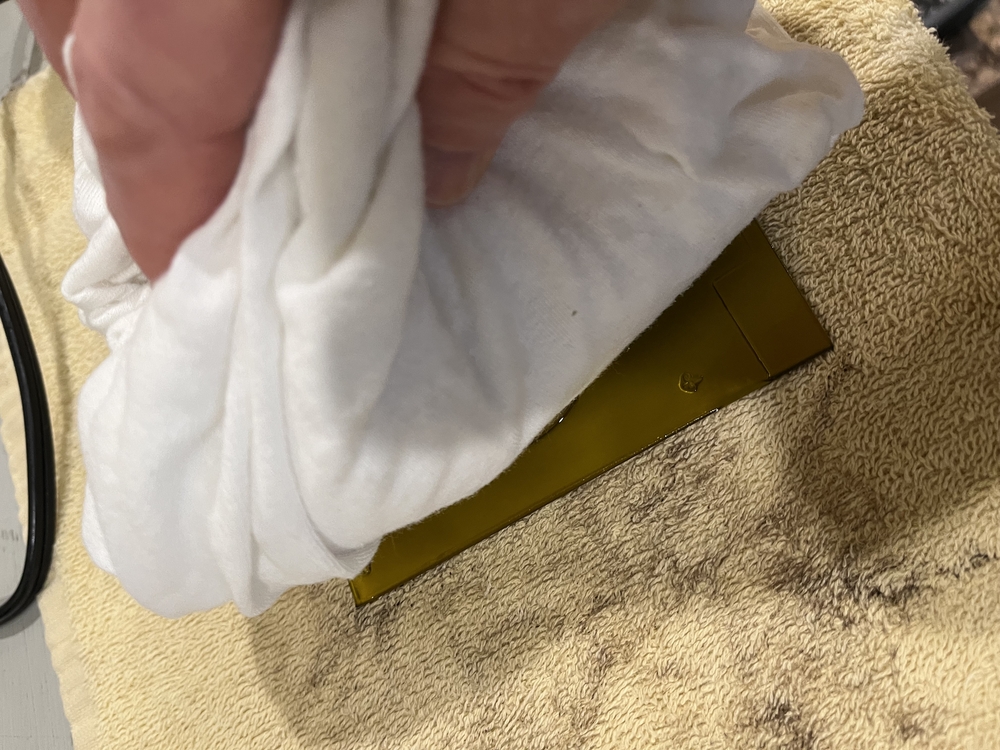
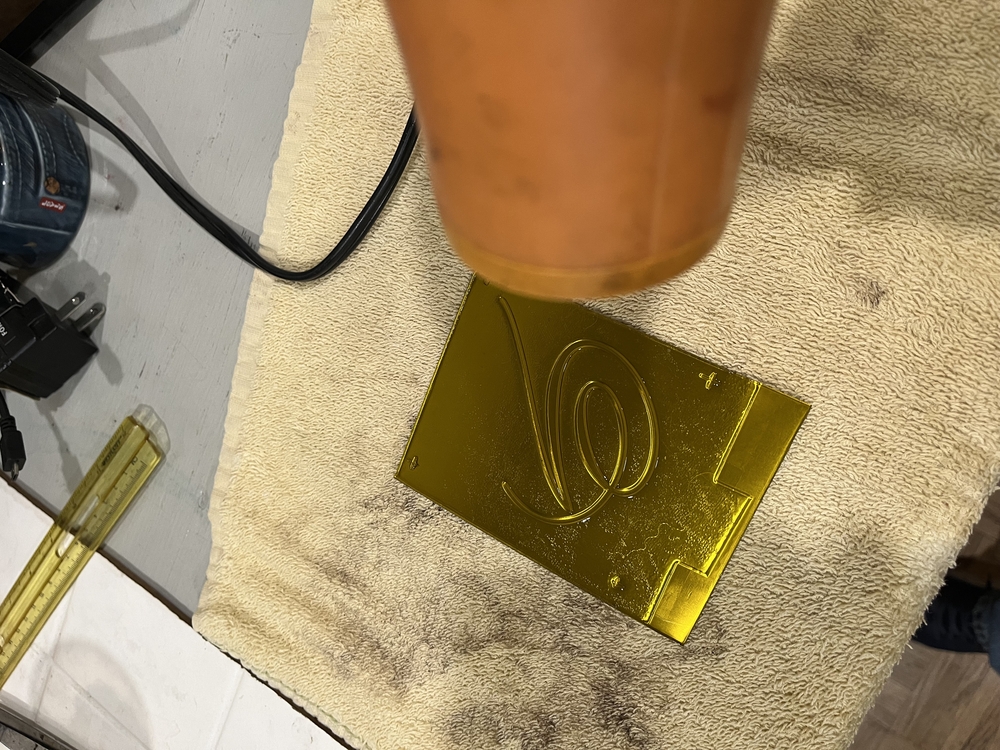
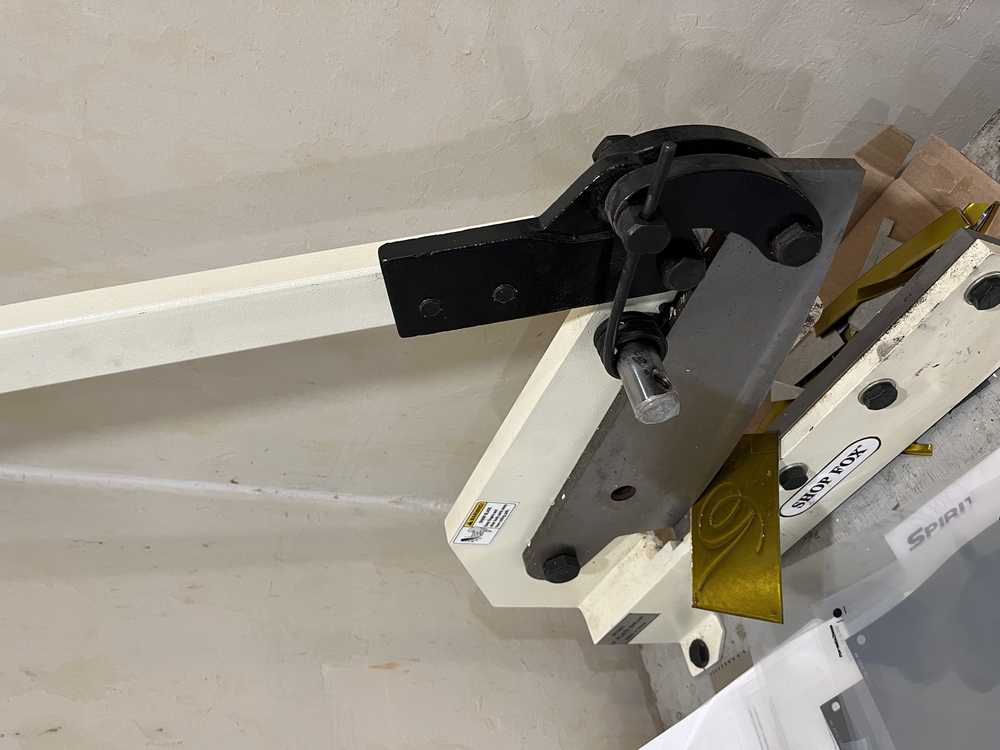
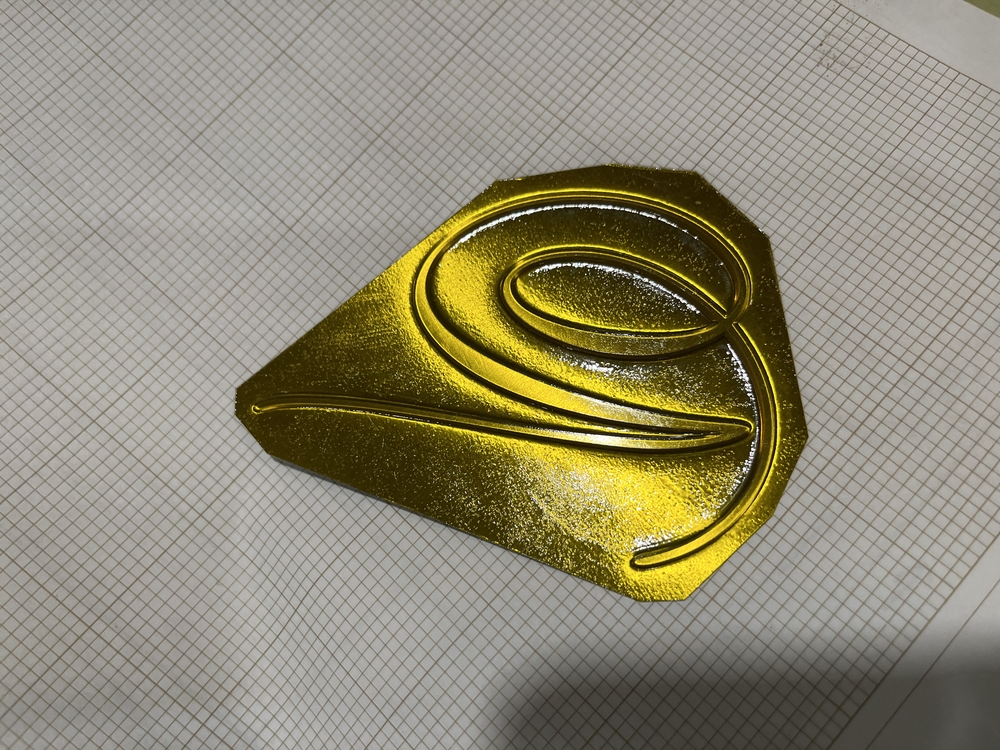
Below: Final Plate. This is ready to be mounted on a chase and set up for the letterpress.
I used all open source applications in this example. (Excluding the print server)
Can you use this technique for wedding invitations where the client wants the artwork to leave a deep impression?
Yes! We use this technique on napkins, invitations, and all prepress work. In this way we have control of the artwork when customers send by pdf.